
1Panel + Tencent Cloud: A Complete Guide to Free SSL Certificate Application and Deployment
Introduction
For individual developers or small projects, website HTTPS encryption is essential. However, commercial SSL certificates can be expensive, and manual application and renewal can be cumbersome. This article will show you how to use the open-source server management panel 1Panel, combined with Tencent Cloud DNSPod DNS verification, to achieve automatic application and deployment of free SSL certificates.
The core idea of the entire process is: through 1Panel’s built-in ACME client, apply for a certificate from Let’s Encrypt (or ZeroSSL) using DNS-01 verification, while the DNS verification records are automatically completed via the Tencent Cloud API — no manual DNS configuration required.
Prerequisites
Before you start, you need to prepare the following:
- A cloud server: For users in China, consider Tencent Cloud Lighthouse or CVM. Recommended OS: Ubuntu 22.04 / Debian 12
- A domain name: Purchase from Tencent Cloud or other domain registrars (if using Tencent Cloud, DNS resolution will automatically be associated with DNSPod)
- Basic Linux skills: Ability to connect to a server via SSH and execute commands
Main Steps
Step 1: Purchase a Server
Purchase a server that suits your needs on Tencent Cloud:
- For hosting a personal blog or small projects, a Lighthouse instance (2 cores, 2GB RAM) is sufficient and very affordable
- When purchasing, choose a region closest to your target users for better access speed
- Remember to open commonly used ports in the firewall: 80 (HTTP), 443 (HTTPS), 22 (SSH), and the port used by 1Panel
Step 2: Purchase a Domain and Configure DNS
After purchasing a domain on Tencent Cloud, you need to configure DNS resolution:
- Go to the Domain Registration console and find your domain
- Ensure the DNS servers point to Tencent Cloud’s DNSPod (this is usually auto-configured for Tencent Cloud domains)
- Go to the DNSPod console and add an A record pointing your domain to your server’s public IP
- Wait for the resolution to take effect (usually a few minutes to a few hours)
Step 3: Install 1Panel
Connect to your server via SSH and run the following one-click installation command:
curl -sSL https://resource.fit2cloud.com/1panel/package/quick_start.sh -o quick_start.sh && sudo bash quick_start.shDuring installation, you’ll be prompted to set:
- 1Panel access port: It’s recommended to change to a non-standard port (e.g.,
18888) for better security - Security Entrance: Customize a URL path prefix
- Username and password: For logging into the 1Panel panel
After installation, access http://<your-server-IP>:<port>/<security-entrance> in your browser to enter the 1Panel management panel.
Don’t forget to open your configured 1Panel port in the Tencent Cloud firewall after installation.
Step 4: Create API Keys and Grant Permissions on Tencent Cloud
This is the most critical step. 1Panel needs to automatically manage DNS records via the Tencent Cloud API to complete certificate verification, so you need to create a dedicated sub-account with appropriate permissions.
- Log in to the Tencent Cloud CAM Console, click Users → User List in the left menu
- Click Create User, select Custom Creation, and choose the Programmatic Access type
- Set the user type to Sub-user and enter a username (e.g.,
1panel-ssl) - Under access method, check Programmatic Access, which will generate a pair of
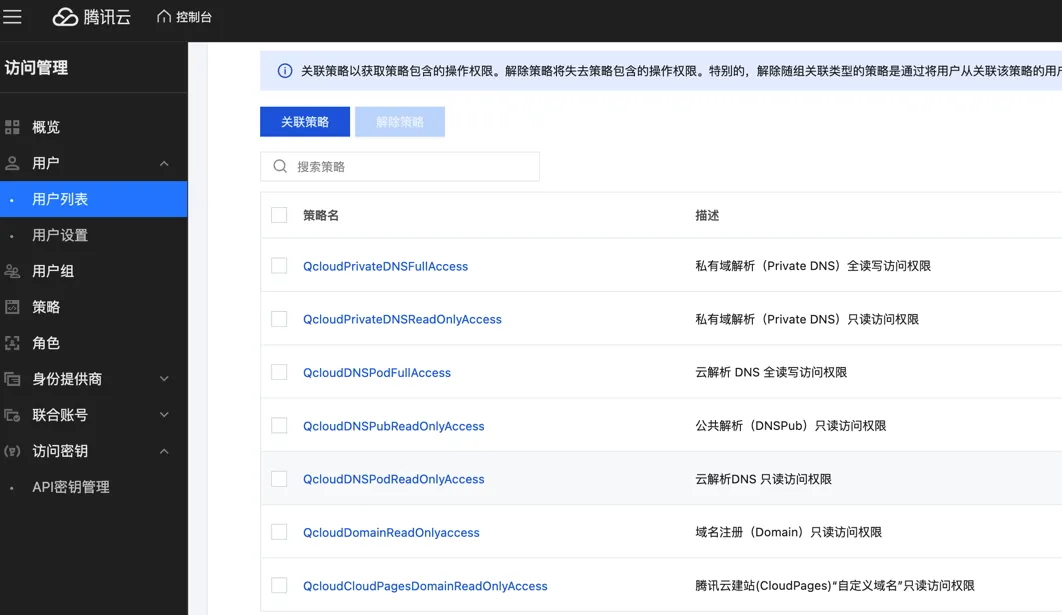
SecretIdandSecretKey - Permission settings: Select Associate Permissions by Policy, search and check the following permission:
- After confirming creation, make sure to save the generated SecretId and SecretKey (they cannot be viewed again after closing the dialog)
Security tip: It’s strongly recommended to grant only DNSPod-related permissions. Do not grant full read/write access. This minimizes the risk if the keys are leaked. After creation, you may need to wait about 10 minutes for permissions to take effect.
Once configured, when applying for an SSL certificate in 1Panel, select the DNS verification method and enter your DNSPod API keys. You should see the authorization status as shown:
Step 5: Apply for an SSL Certificate in 1Panel
- Log in to the 1Panel panel and go to Website → Certificates
- Click Apply for Certificate and select a certificate provider (Let’s Encrypt is recommended)
- Select DNS Verification as the verification method
- Select DNSPod as the DNS provider
- Enter the
SecretIdandSecretKeycreated in Step 4 - Enter your domain (e.g.,
example.com), wildcard domains are supported (e.g.,*.example.com) - Click submit and wait for the application to complete
A screenshot of a successful application:

Step 6: Deploy the Certificate
After the certificate is successfully applied, configure your website in 1Panel:
- Go to the Website page and create or edit your website
- In the HTTPS settings, select the certificate you just applied for
- Enable Force HTTPS to automatically redirect HTTP requests to HTTPS
Important Notes
- Certificate validity: Let’s Encrypt certificates are valid for 90 days. 1Panel supports automatic renewal, but it’s recommended to periodically check the renewal status
- API key security: Never commit API keys to code repositories or share them publicly. Always use the principle of least privilege with sub-accounts
- DNS propagation delay: If your first application fails, the DNS records may not have propagated globally yet. Wait a moment and try again